Zum Hauptinhalt der Seite springen
Schnellbestellung
Anmelden
0 Artikel
Ihr Warenkorb ist leer.
Warenkorb ansehen
0 Artikel
Ihr Warenkorb ist leer.
Warenkorb ansehen
0
Navigation umschalten
Anmelden
Schnellbestellung
Home
/
Sortiment
/
Kategorien
/
Elektroinstallation
/
Beleuchtung
/
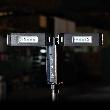
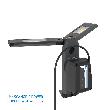
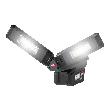
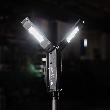
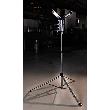
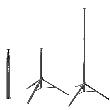
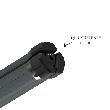
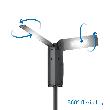
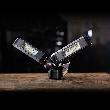
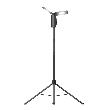
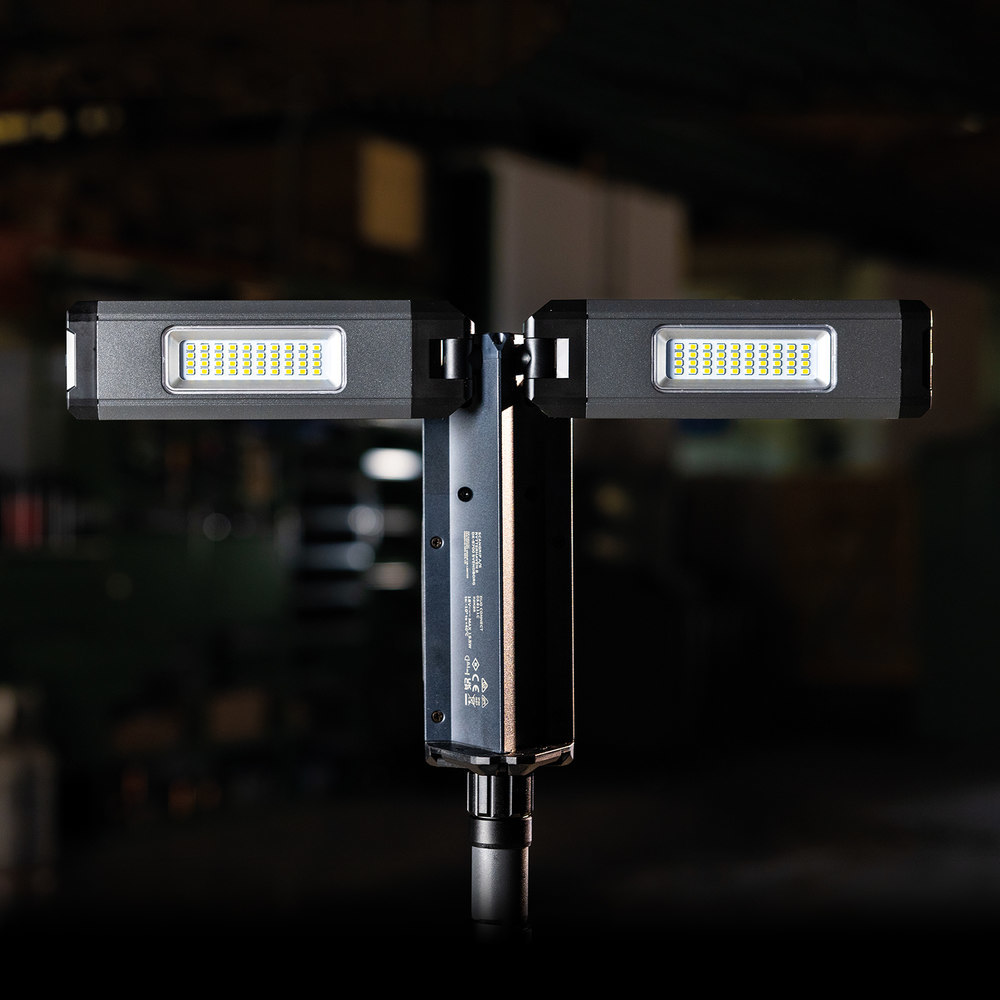
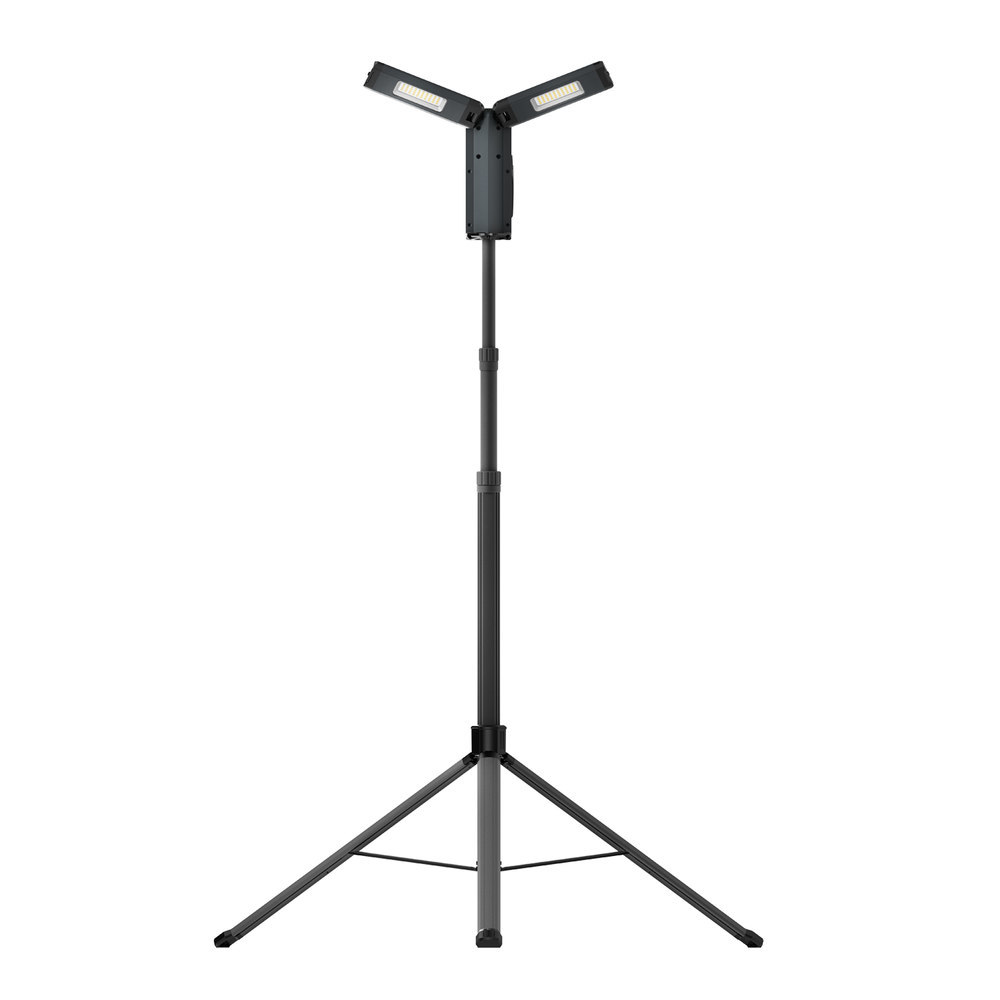
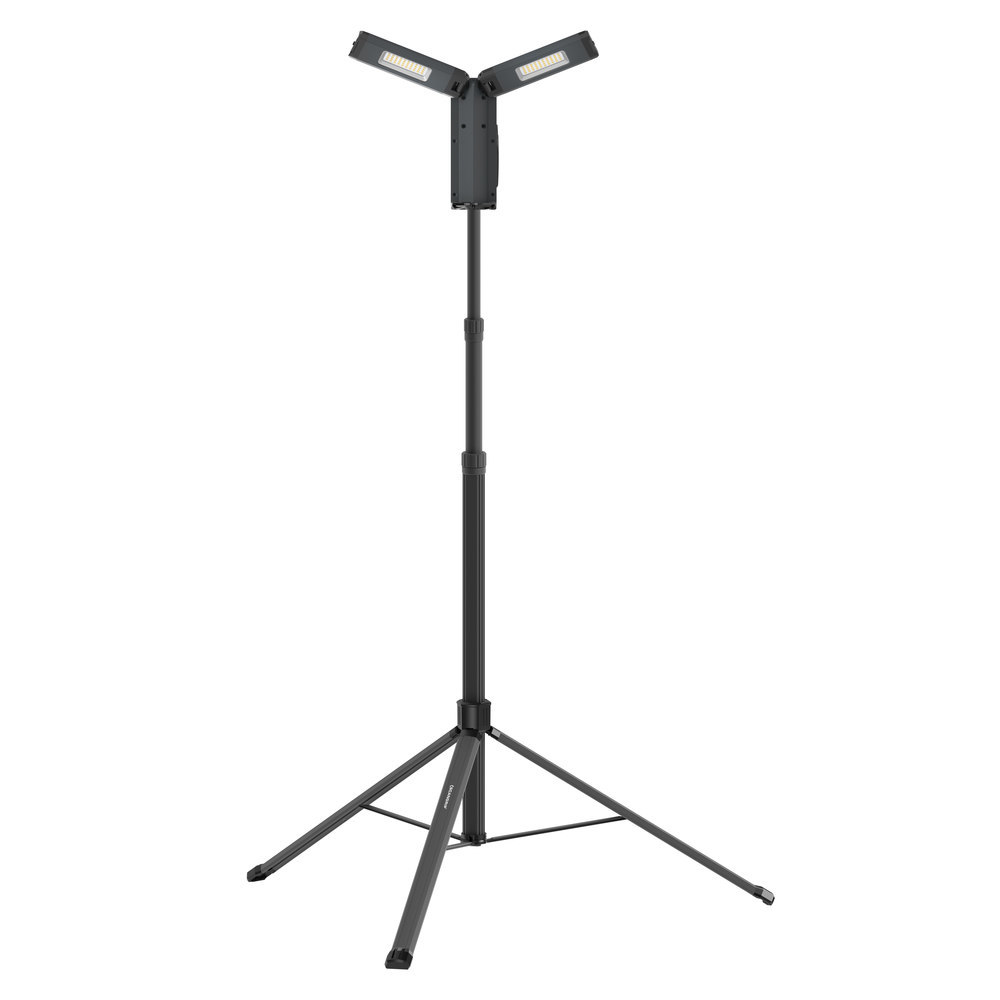
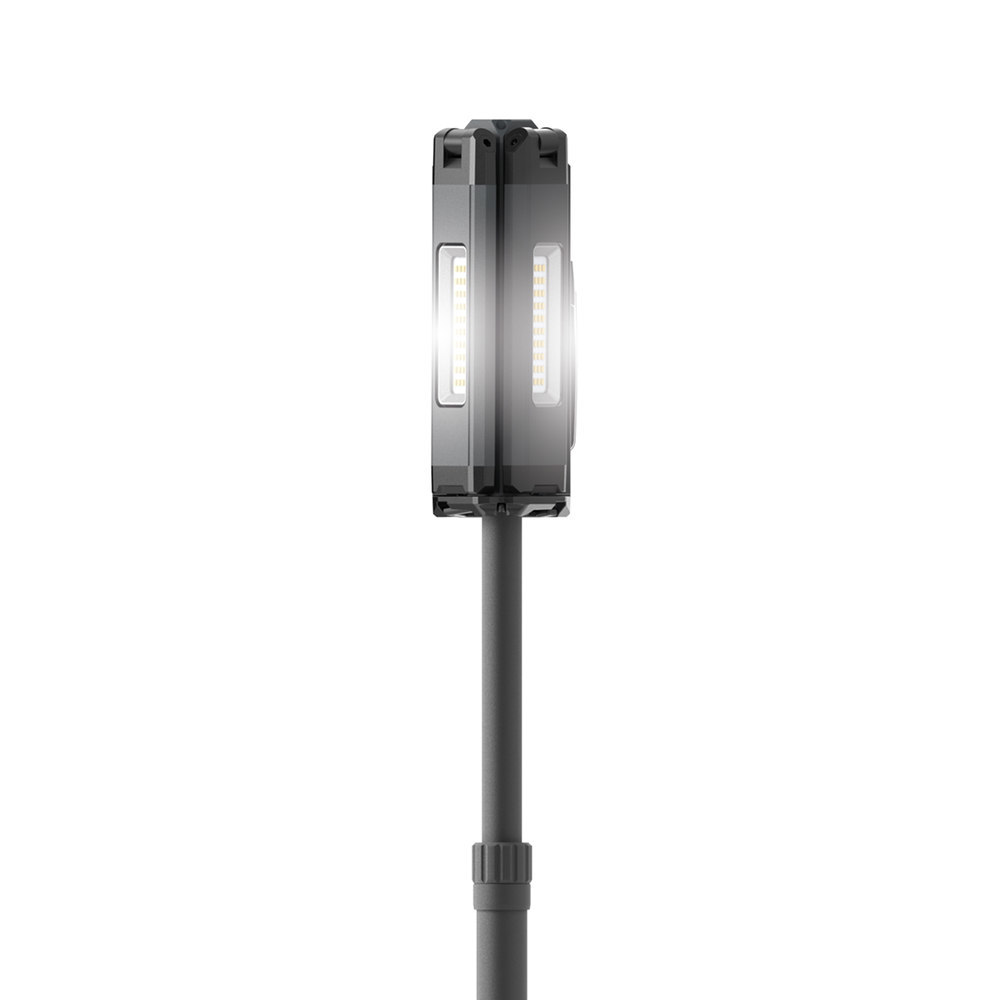
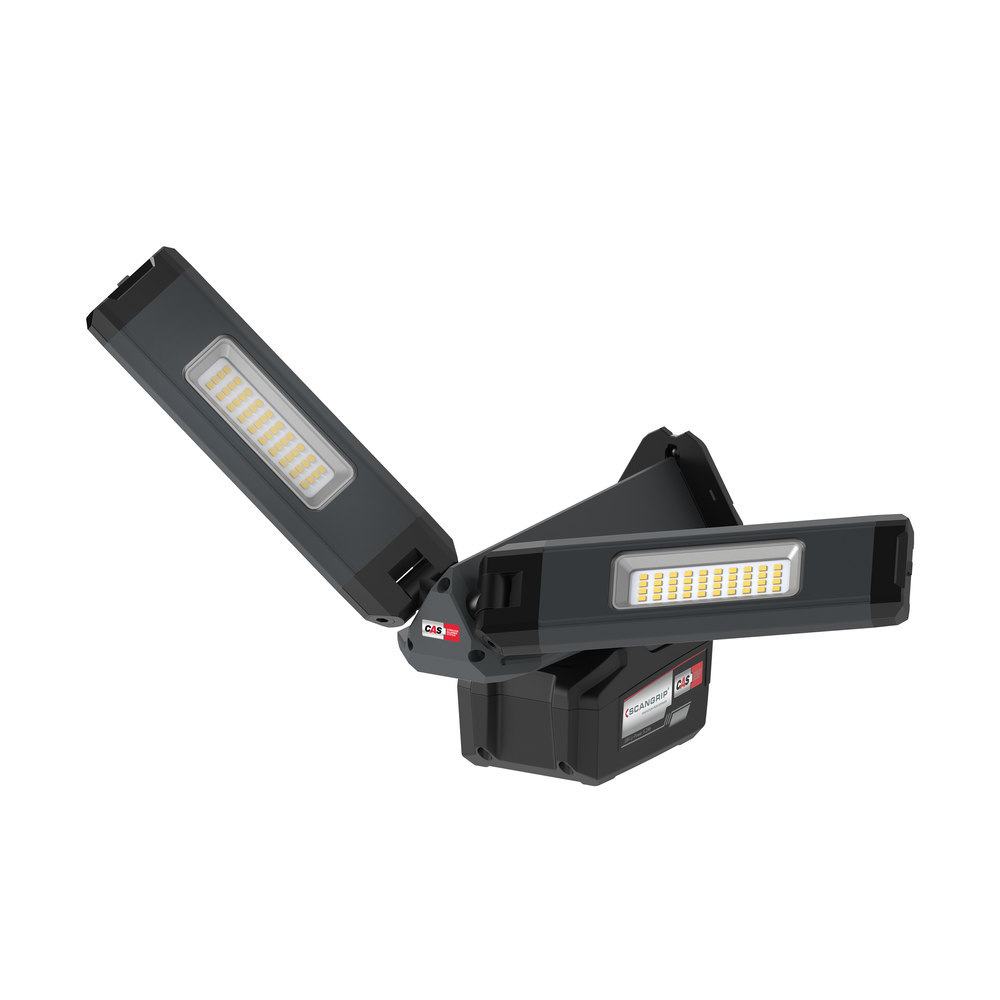
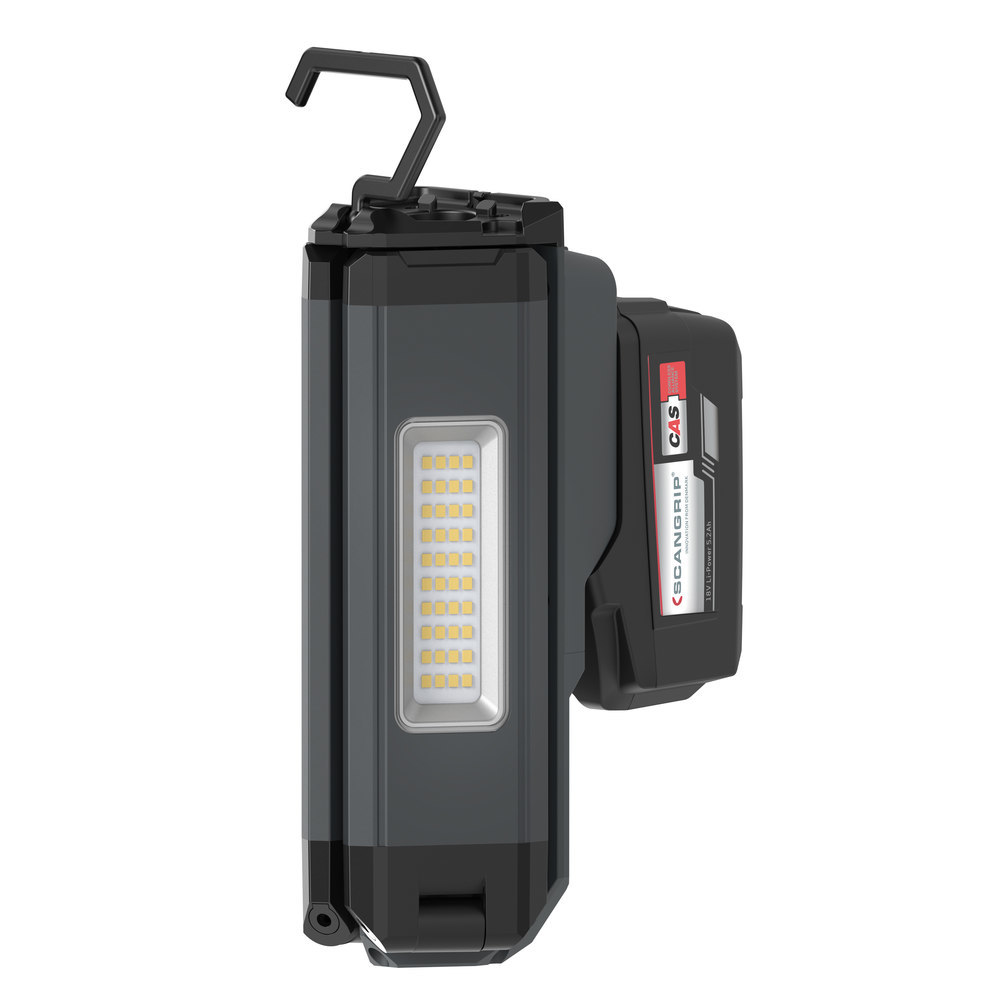
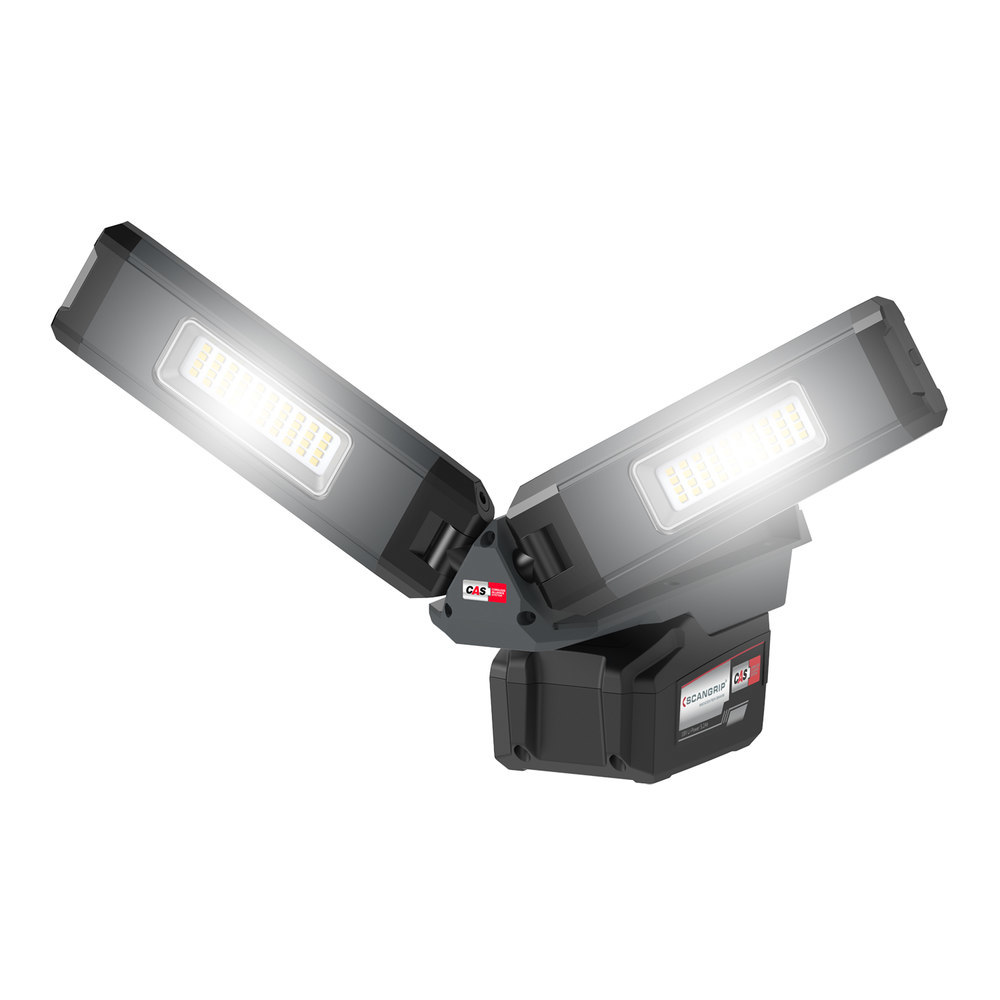
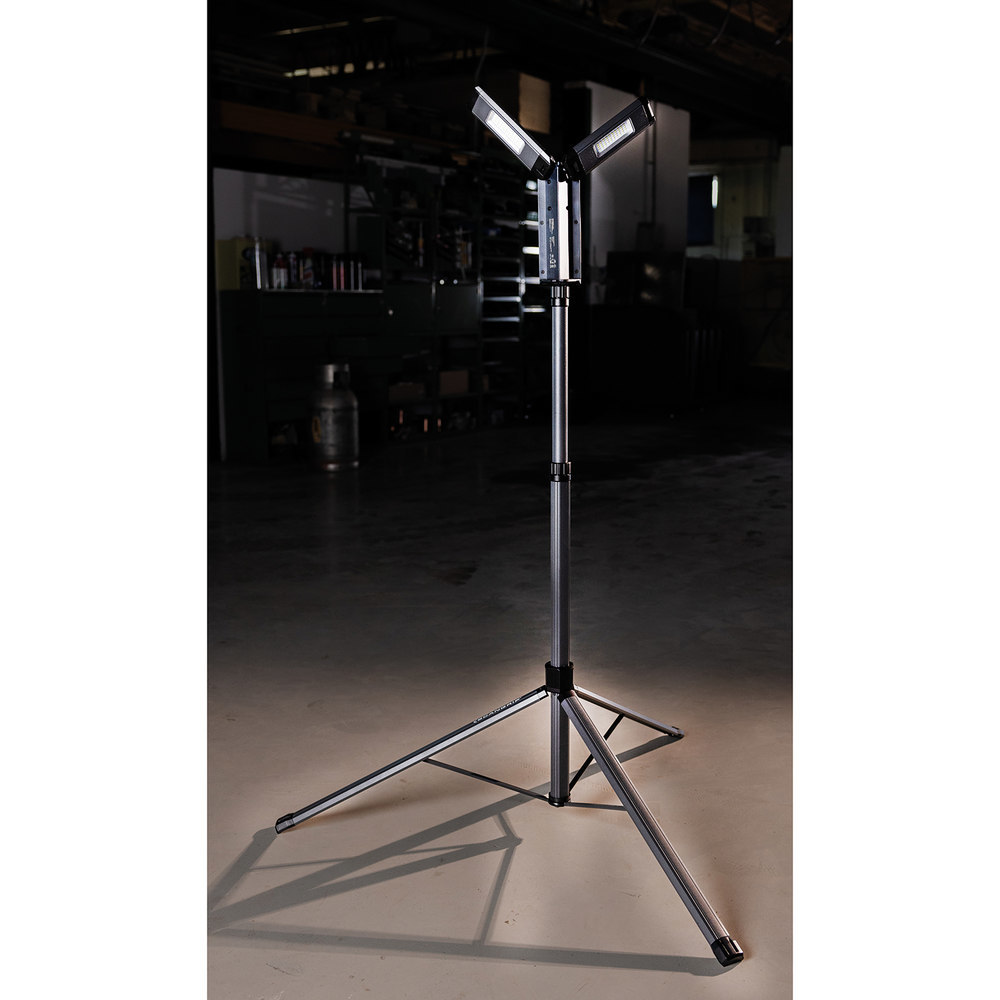
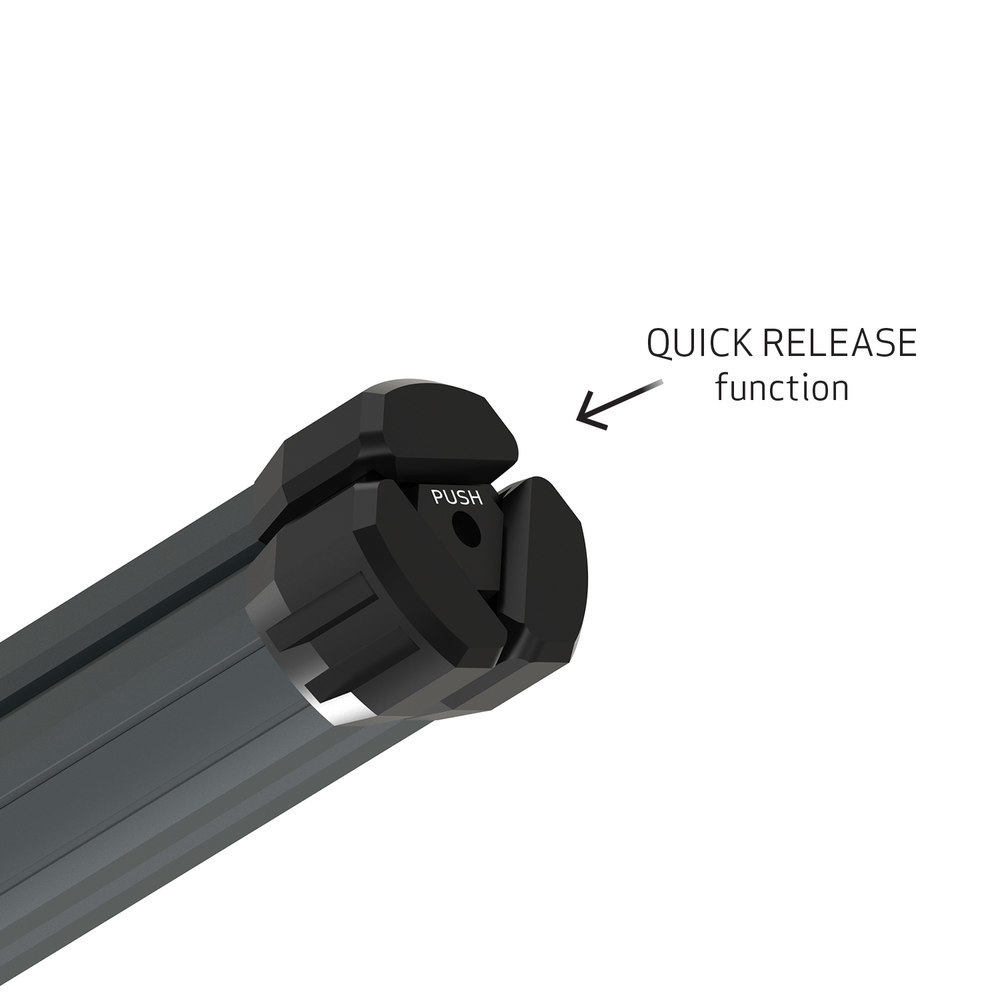
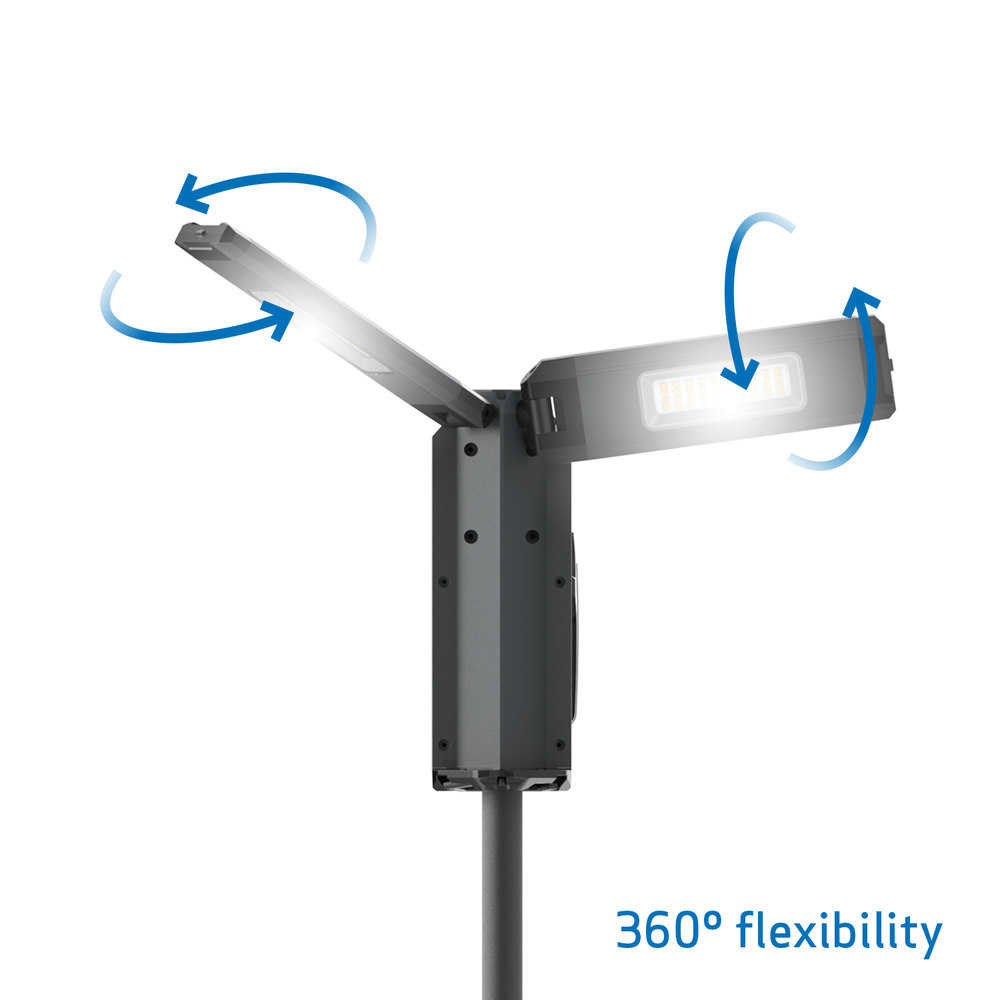
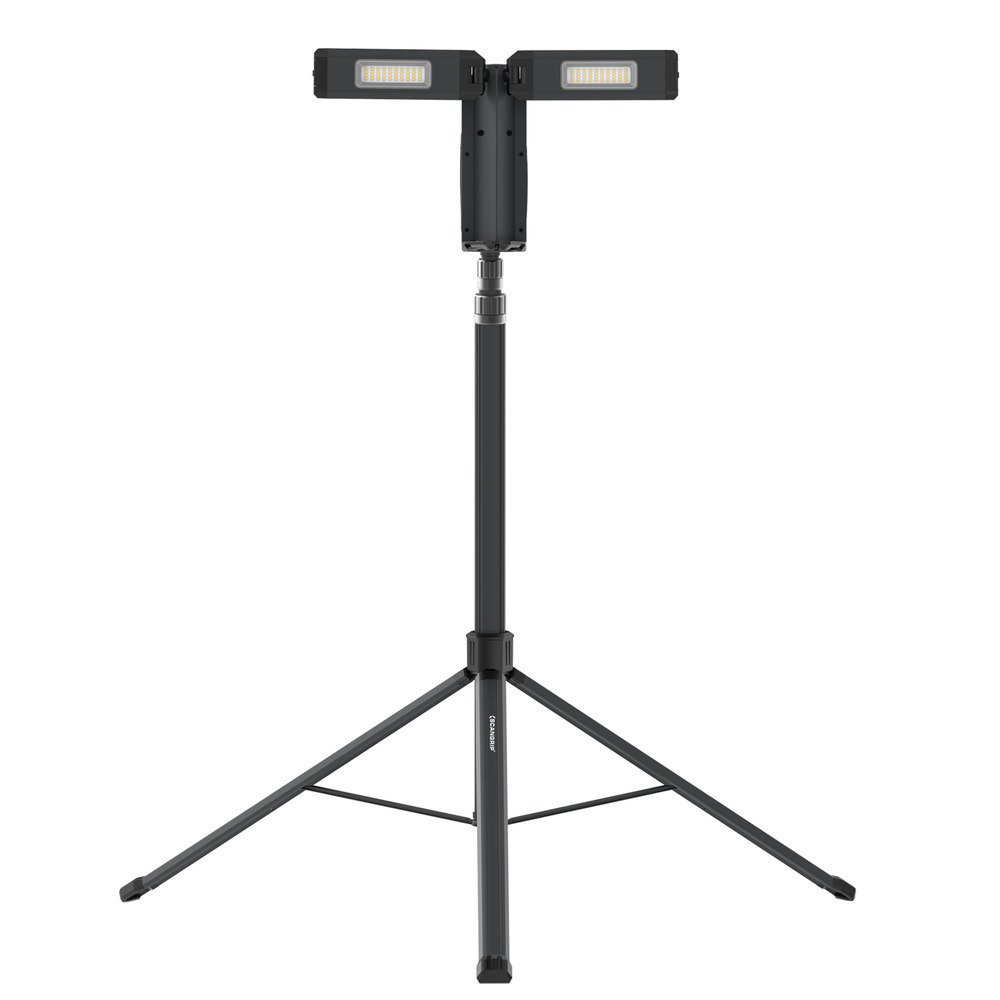
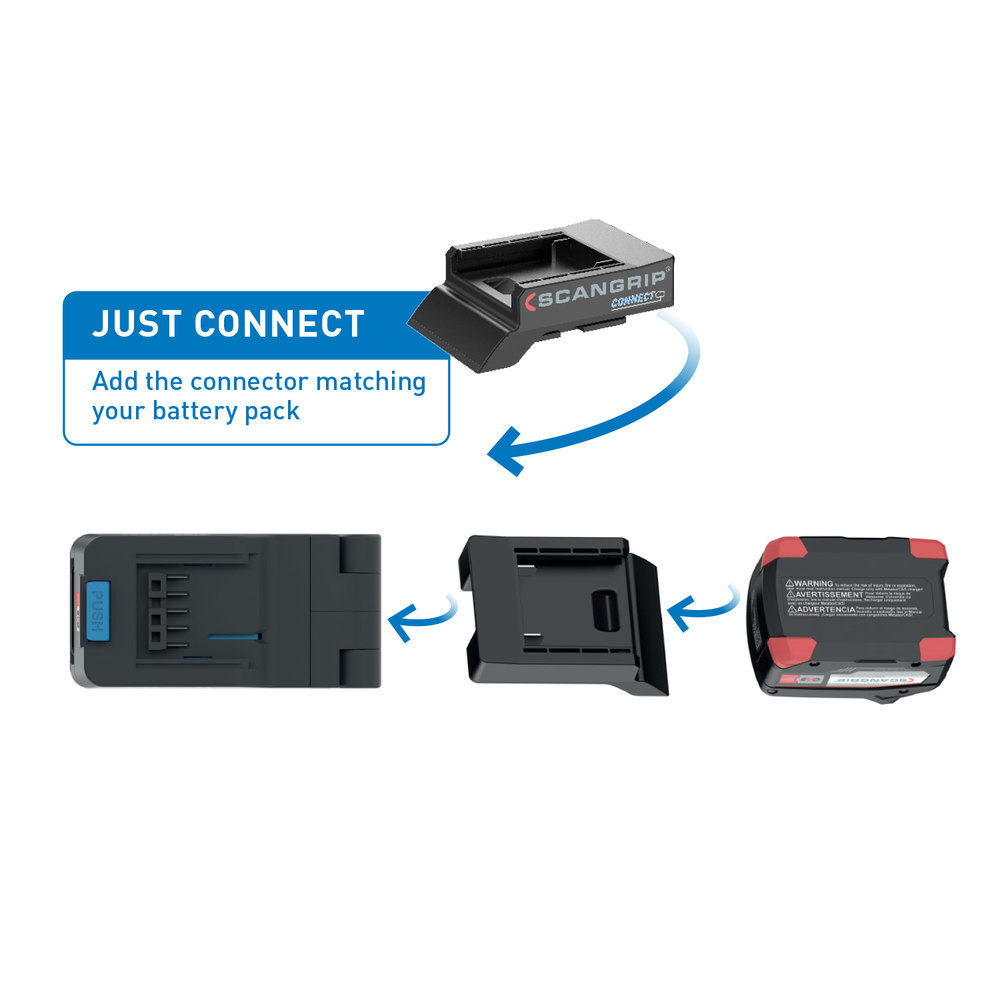
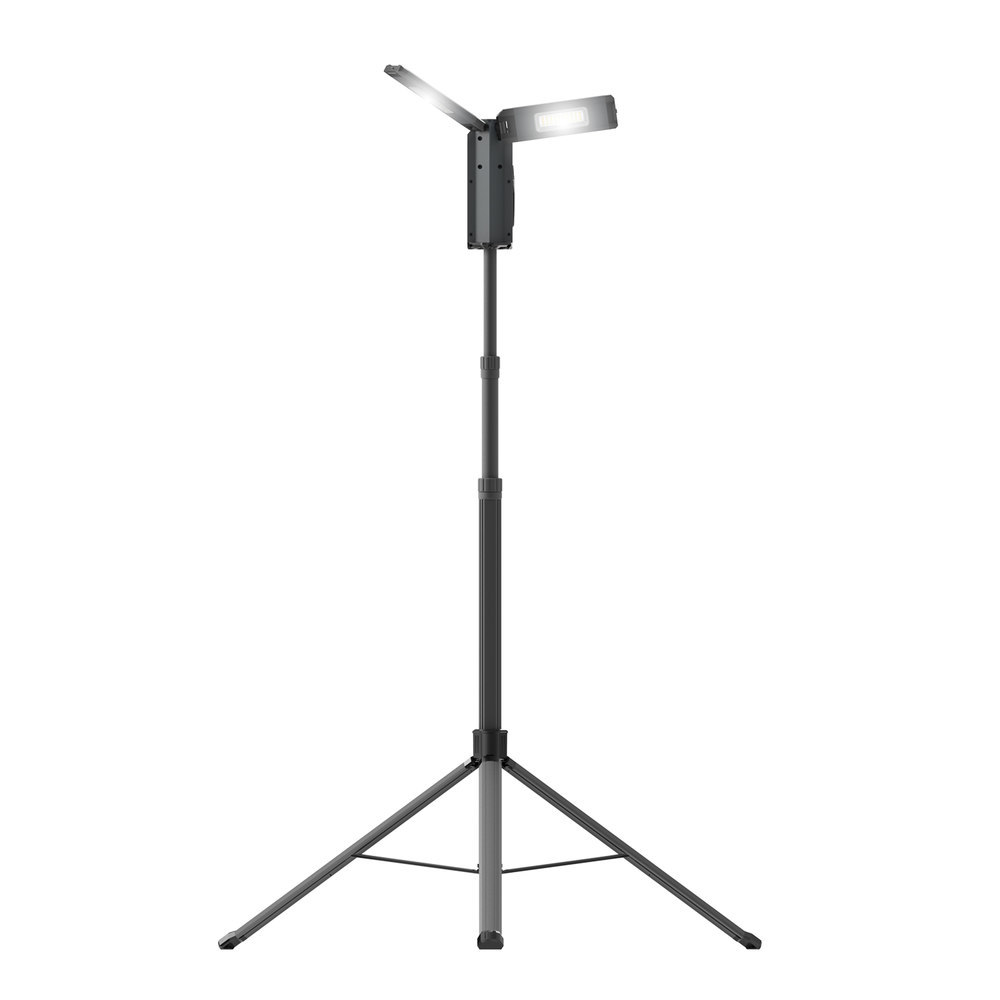
SCANGRIP DUO CONNECT
SCANGRIP DUO CONNECT
SCANGRIP
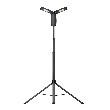
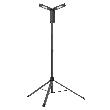
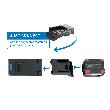
In 2 Ausführungen erhältlich
Ausführungen anzeigen
Beschreibung
Details
Dokumente
Bewertungen (0)
SCANGRIP DUO CONNECT
Please enable JavaScript to continue using this application.